HUP OVERHAUL 2011 Page 2
Last Major Updated November 17, 2011
Go To HUP OVERHAUL 2011- Page 1
Visit the MLU Forum Thread on this Overhaul to see various comments, questions and observations from the World Wide CMP community. New Hampshire CMP Barn 2011 HUP Overhaul
Progress February 2011
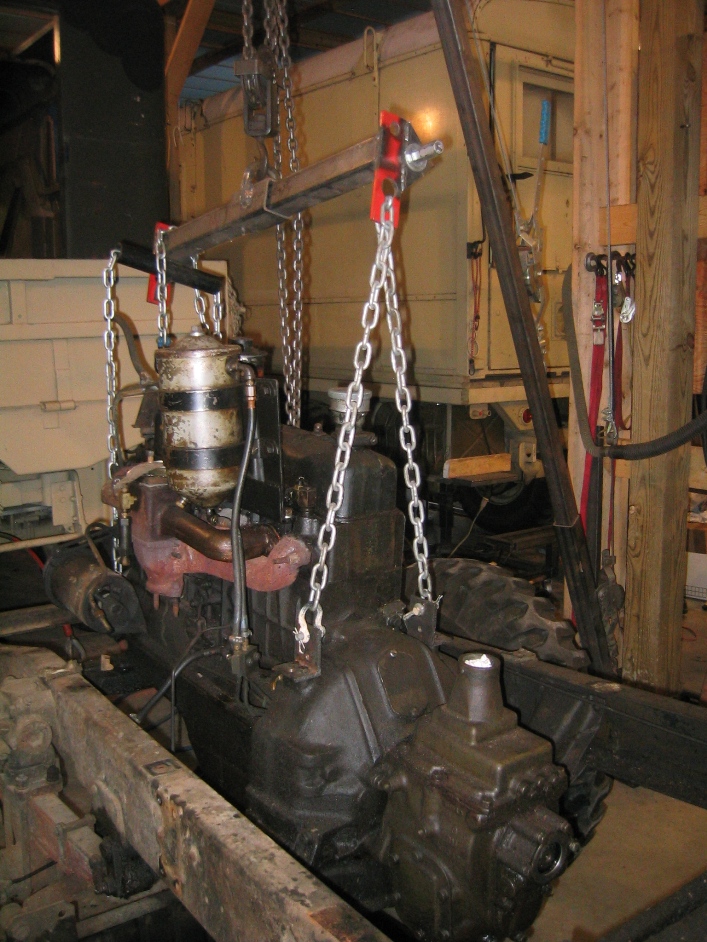
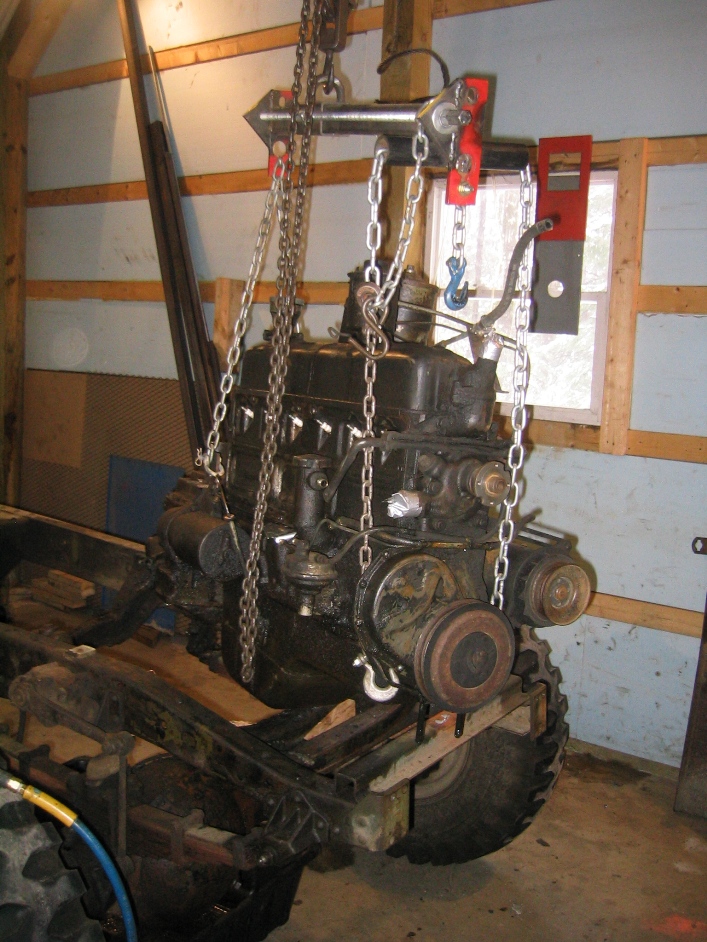
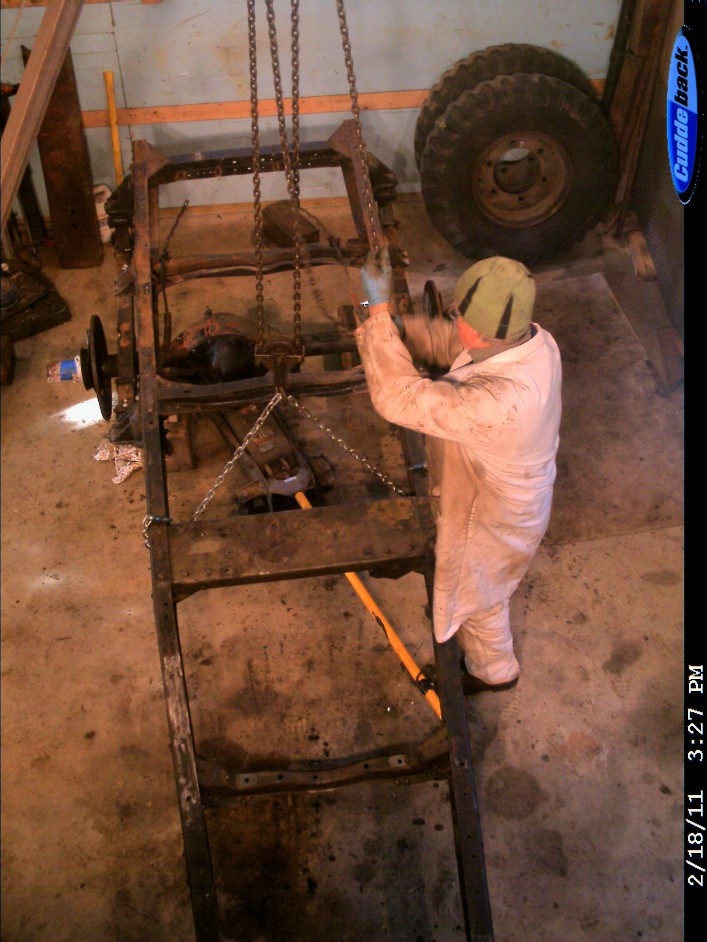
February 8th Today pulled the engine out of the chassis, must say it is a lot easier pulling the engine out of chassis rather than out with the body in place. But only easier if you have to body of for another reason.
Pictures below show the process, the engine balance rig is one I made specifically for pulling engine out of CMPs. When pulling engine with the body in place you may need to remove the valve cover and position the balance bar down just clear of the valve train. The attachment points are the bolts holes on the top of the bell housing and down on the sides of the front engine mount. This makes the chains clear everything.
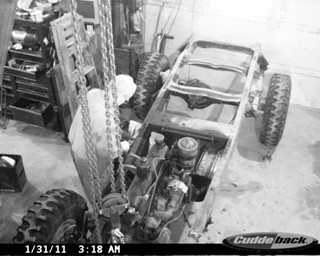
Time Lapse Video of Engine being pulled
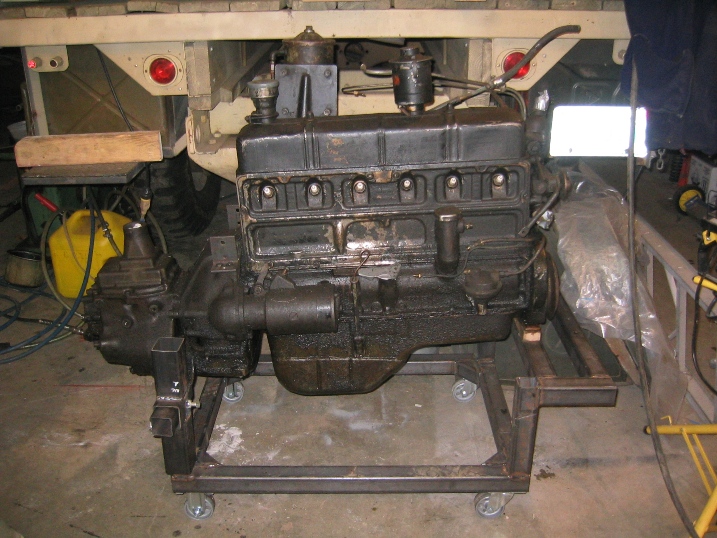
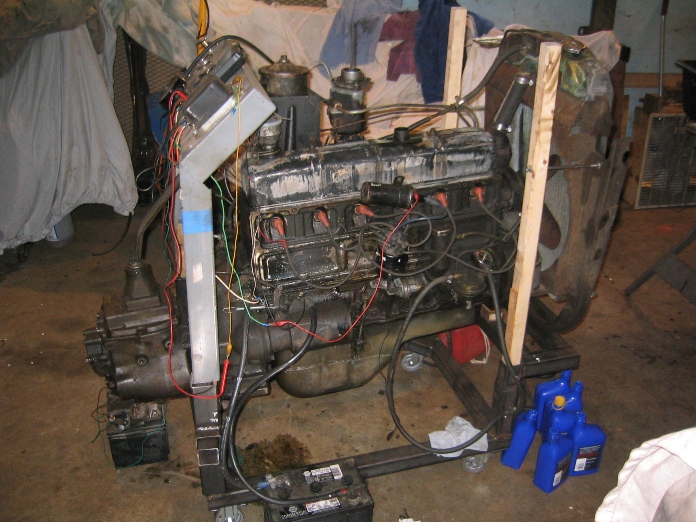
Engine is now sitting on an engine stand so that it can be cleaned, tested and moved around easily. See lower on the page for photos of test stand and details of tests.
Time Lapse Video of Chassis Being Stripped of Running Gear
 ------
Been busy out in the shop but a bit slow on posting activity, first I need to update the time lapse video photo video part of the problem is the size of the thing it is now comprised of over 2500 individual photos and the computer has trouble dealing with the file size.
Visible progress has slowed down a bit as I have gone over to a work plan of cleaning parts as I remove them. Been using, very hot water 165F, Gunk and Kerosene, what has been working well though for small parts is boiling water and Arm & Hammer washing soda. Large electric fry pan with water and the washing boiling away and just put in the parts and let them boil while I working on other stuff. Then rinse with hot water and parts are generally free of oil, grease and in many cases most of the paint.
Since lifting the body off the chassis was prep to using the high pressure washer with hot water, had to wait until it was warm enough to do out side. Fortunately the weather cooperated with a day in the high 50s.
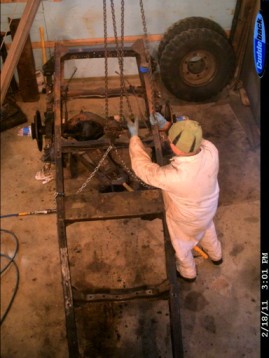
Once cleaned the chassis was pull back into the shop once again using the winch on the C60L. Then everything that can be unbolted from the frame has been removed.
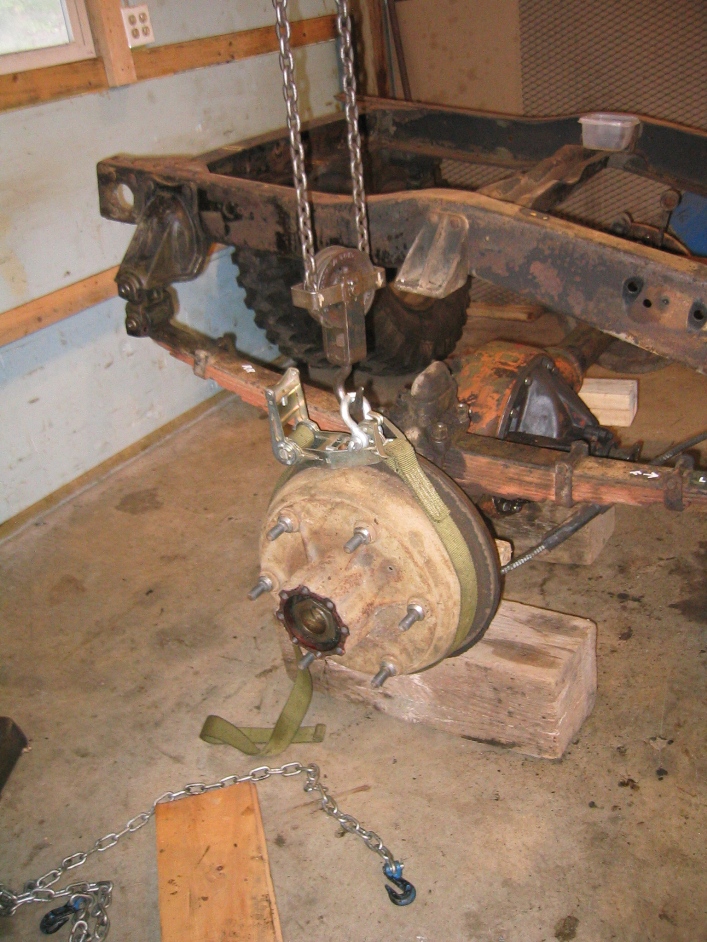
The picture below shows the frame hanging from the chain fall. In working with large parts I find and mark the center of gravity. Using a paint pencil a CG mark on the frame makes it easy to hitch on to parts to move them around. A photo of the CG also is of use when the parts have been painted.
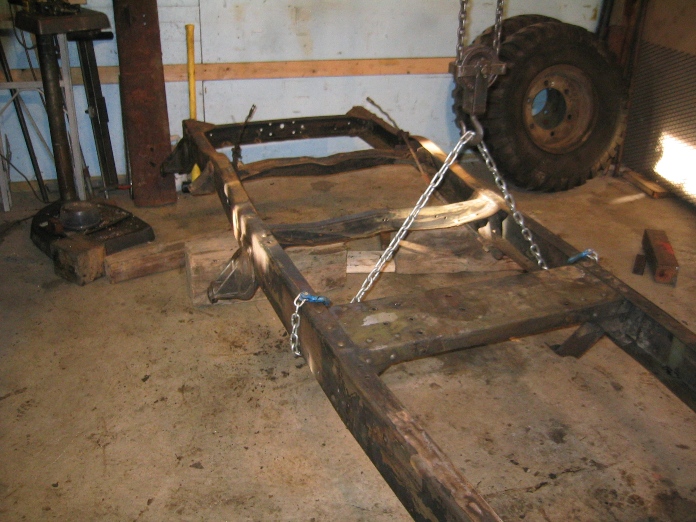
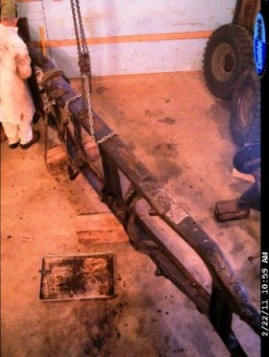
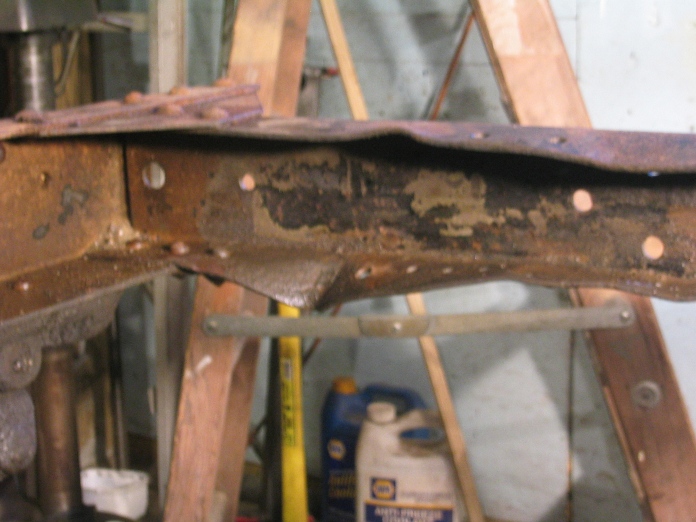
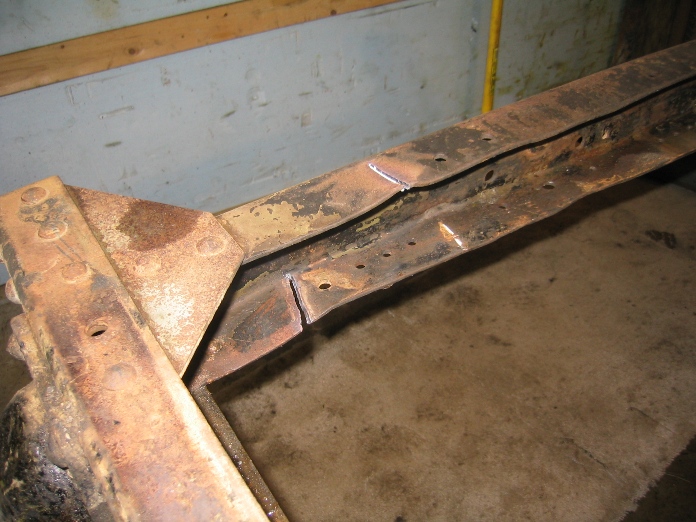
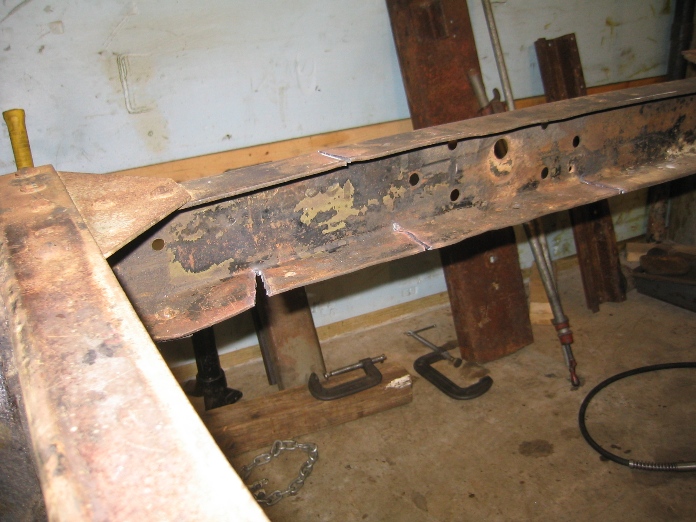
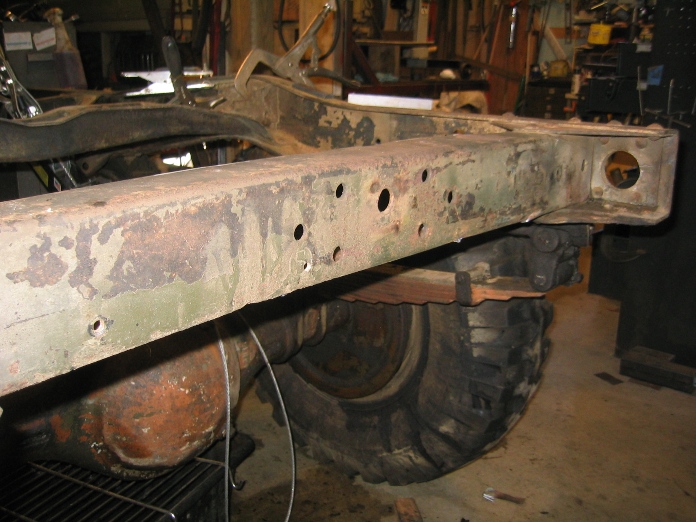
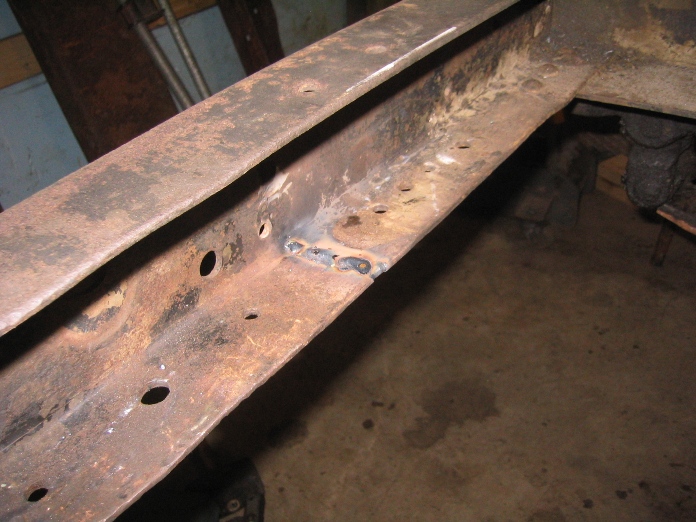
Only repair work on the frame its self that had to be done was to straighten out the rear cross frame member which showed the evidence of several occasions of unwise attachment of towing chains. The two tow eyes designed for this purpose had been used to mount the turn signals, something I will correct when I reassemble. I considered two methods of repair, one replace the whole cross member the other was to cut straighten and re-weld, the results of cutting and welding look OK and is probably stronger than trying to replace all the rivets.

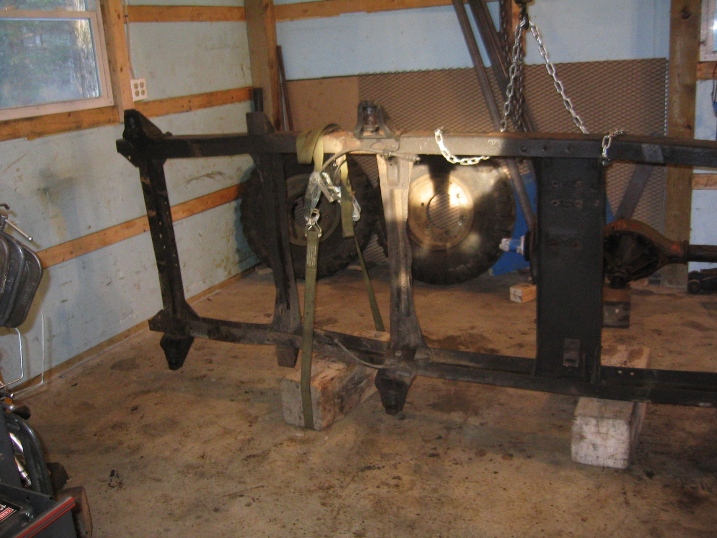
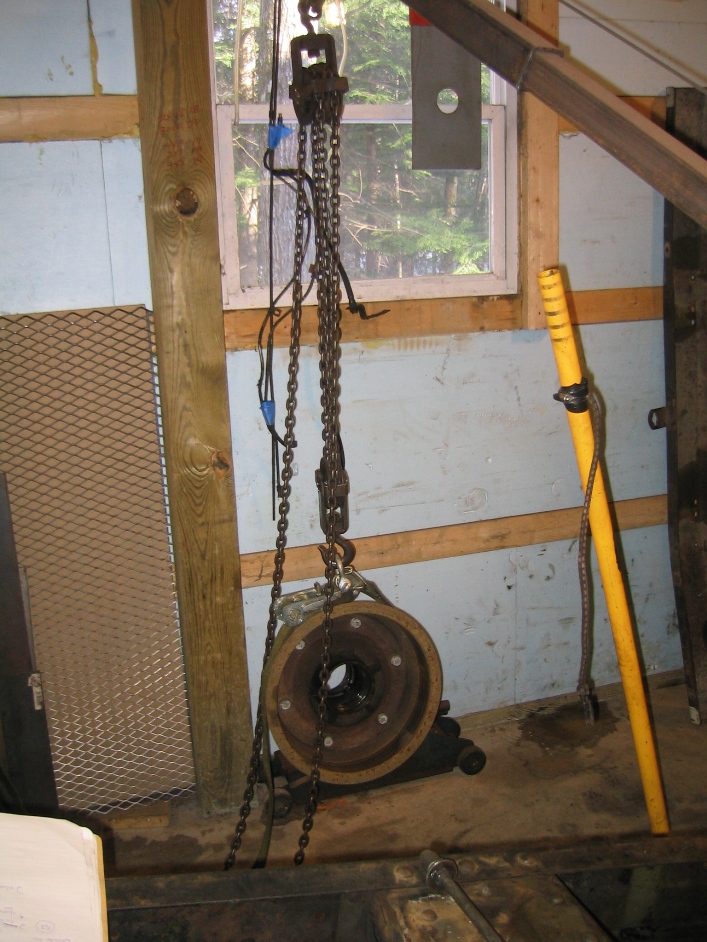
Parts like the brake drums on CMPs are massive pieces of steel, 30 years ago I'd just grab on and pull and lift. Now with more respect for my back and the parts I take a little more time to rig the parts for lifting. My work bay in the shop is equipped with a Jib hoist with a chain fall. This allows parts to be lifted and move around. Another advantage to this approach is that things like brake drums can be removed and replaced with damaging the seals.
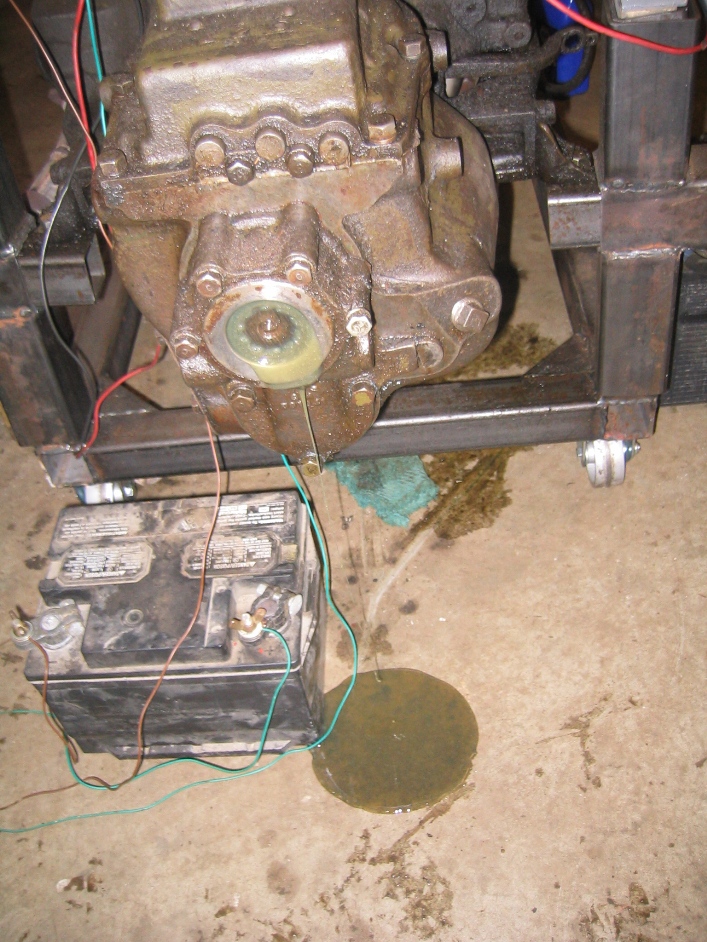
Discovered an interesting problem when running the engine on the test stand. On one startup I had the transmission in gear, I think 1st gear, after running for a few minutes of running discovered that the transmission was piddling gear lub on the floor. Didn't have the propeller shaft flange installed because of the didn't want that chunk of stuff sipping around exposed. So if you want to test the engine and transmission either install the flange, or as I plan to try clean the seal outside face and cover with tape.
The 12 volt battery sitting on the floor in some of these photos is only there to power the electric fuel pump used to prime the fuel system and to power a 12 volt timing light.
Started really testing the engine out the HUP to see what needs to be rebuilt. Known problems:
- Oil leaks, front and rear main seals, valve cover, side cover
- Beginning of a little exhaust smoke
- Exhaust manifold leaks - big time
- Replace all rubber parts just from age
- Engine has never had detergent oil
- Non hardened valves or seats
Other work suspected as this engine:
- Put the original carb back on it - swap the original carb for one the C60S as the bigger carb needed the better carb when it had the 216
- Lower than desired compression more on this below
- Valve wear, from the 216 in the C60S which spent its entire life at full throttle or idle, valve wear or valve recession is a real problem compounded by the hotter burning gas now.
- Low Oil pressure, cause unknown maybe worn oil pump, main crank
bearings, valve lifter assembly (see The
Chevy Lubrication System)
This engine has never been out of the HUP or apart, this is my from my direct knowledge 1979-now and from talking with the previous owner 1946-1978. I've never even had the head off. Previous owner thought the head was replaced at one point. I've never wanted to mess with success by taking the thing apart, it just runs so nice.
As this particular HUP is basically as original as is likely to be encountered I am very reluctant to replace any thing that can be rebuilt and reused.
This includes the engine, so with diagnostics before the rebuild I hope will help keep it as original as possible while stopping the oil leaks and ensuring the same level of reliability it has demonstrated over the last 66 years.
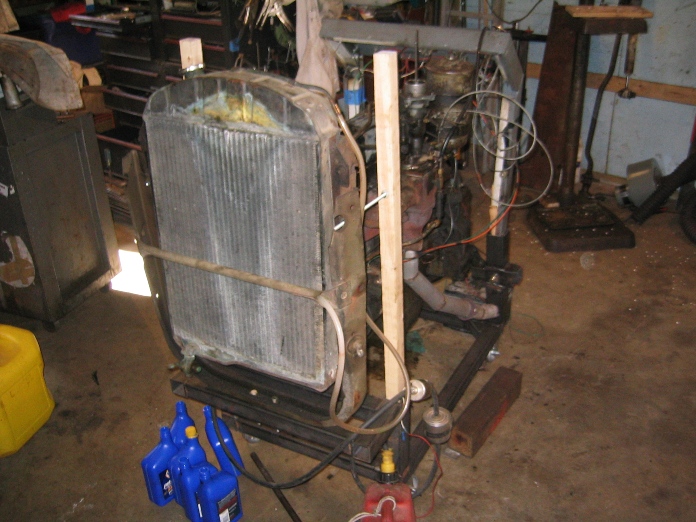
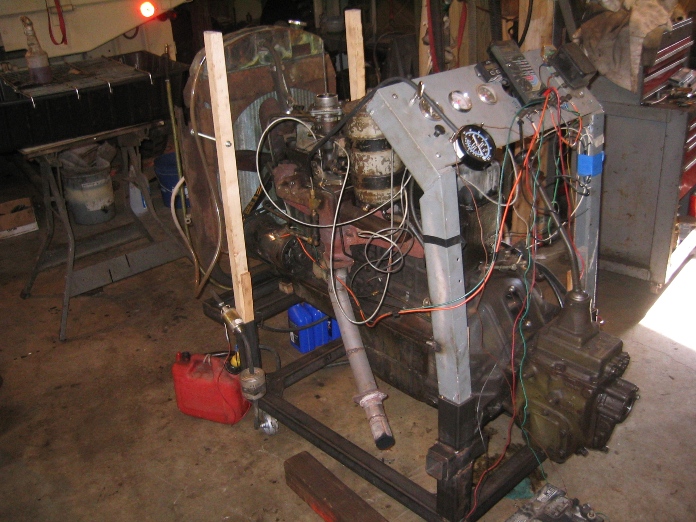
Anyway the engine is now completely set up on an engine test stand and can be run, while having full access to the engine top, sides, and bottom not something easily done in the HUP. First thing was bring the engine up to operation temperature with the oil temp fully equalized with the water at 180-185 F used an IR gun get the temps.
I discovered why it is so hard to get a CMP up to temp and equalized with out driving in on the road. It is difficult to get it up to temperature and actually equalized even with the grill completely covered. The design of the fan shroud results in a significant reverse air flow coming forward through the radiator at the top and bottom corners. This air is then sucked back through the center, radiator enclosure which provides 4-8 inchs of space between the grill and radiator for this air circulation. Even with the grill area covered this counter airflow allows/causes a significant temp delta from top to bottom, 80 degrees in the open shop. A thin sheet of card stock/poster board slid directly down the front of the radiator will block the counter flow if there is space for it.
Anyway after finally getting the engine equalized at 185 shut it down and did a series of compression tests.
Videos of Engine Running on test stand Video 002 -Video 003 - Video 004
| Engine Notes | All test with engine 180-190 F | |||
| Compression Test 3/21/11 | ||||
|
Cyl
|
Throttle Closed
|
Throttle Open
|
Throttle Open With Oil Added
|
|
|
1
|
100
|
110
|
112
|
|
|
2
|
101
|
110
|
112
|
|
|
3
|
85
|
95
|
100
|
|
|
4
|
98
|
105
|
105
|
|
|
5
|
98
|
101
|
105
|
|
|
6
|
98
|
105
|
112
|
|
|
Oil Pressure to Temp- This test needs to be rerun with RPM and Time recorded more accurately, and with new oil in the engine to take oil dilution from gas taken out of the picture. |
||||
|
Oil Pressure
|
Oil Temp
|
Water temp
|
Speed
|
Time
|
|
20
|
40
|
40
|
Idle
|
|
|
10
|
80
|
180
|
Idle |
|
|
9
|
125
|
182
|
400 rpm
|
|
|
7
|
135
|
190
|
400 rpm
|
|
|
Valve Adjustment
|
||||
|
Cyl
|
Intake 0.010
|
Exhaust 0.020
|
||
|
go
|
no go
|
go
|
no go
|
|
|
1
|
0.009
|
0.011
|
0.019
|
0.020
|
|
2
|
0.009
|
0.011
|
0.022
|
|
|
3
|
0.009
|
0.011
|
0.022
|
|
|
4
|
0.006
|
0.008
|
0.028 +
|
|
|
5
|
0.009
|
0.010
|
0.022
|
|
|
6
|
0.004
|
0.006
|
0.020
|
0.022
|
|
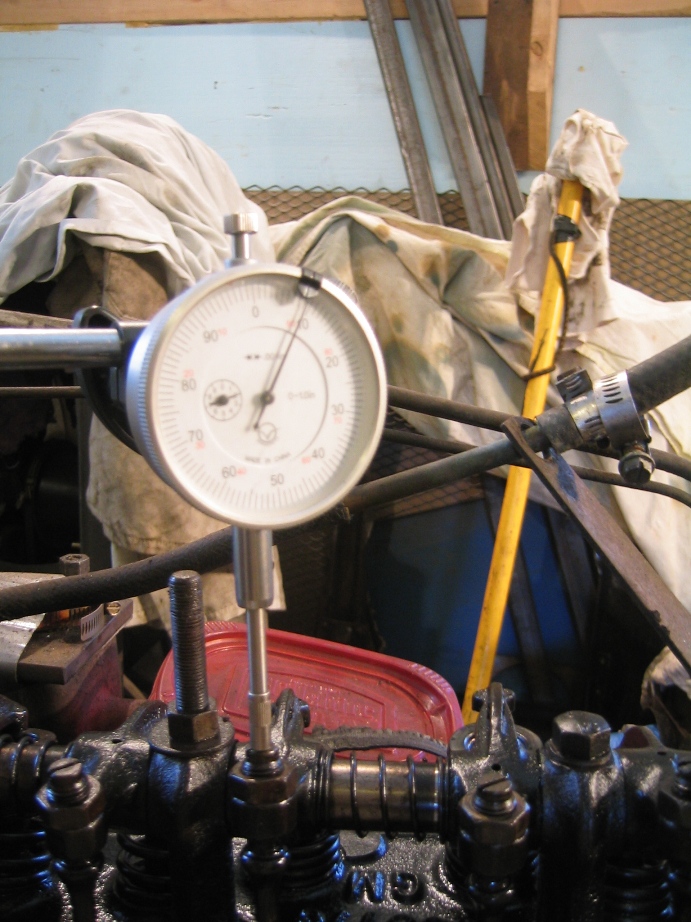
Cam Lobe Lift
|
||||
|
Intake
|
Exhaust
|
|||
|
1
|
0.204
|
0.206
|
||
|
2
|
0.209
|
0.204
|
||
|
3
|
0.200
|
0.200
|
||
|
4
|
0.209
|
0.200
|
||
|
5
|
0.209
|
0.209
|
||
|
6
|
0.202
|
0.209
|
||
I have several pages of engine test stand notes but they are on Excel and I have not figured out how to post them with out retyping them.
Updated April 3, 2011
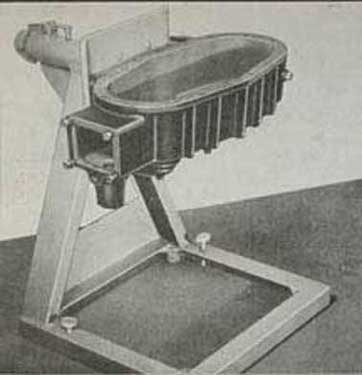
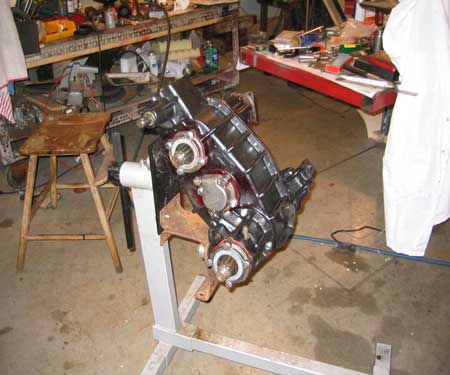
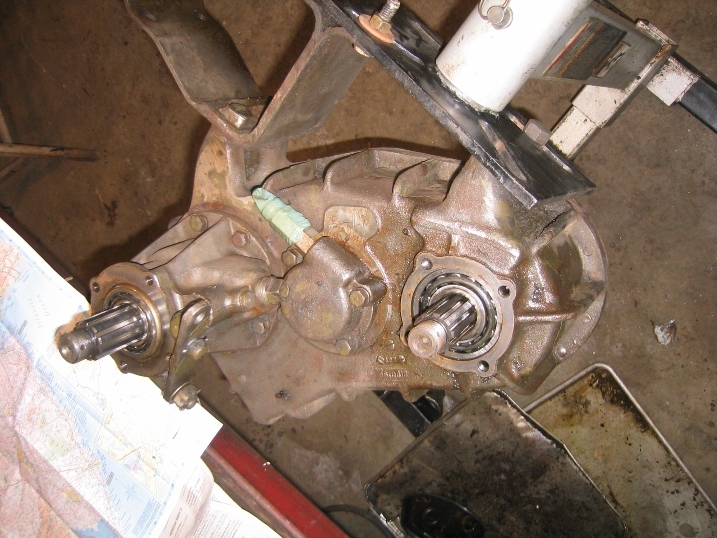
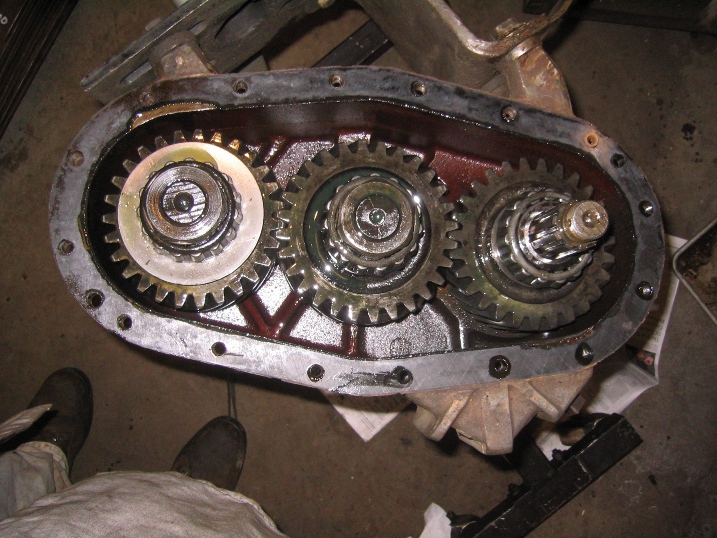
Transfer Case - inspection and cleaning. As part of the over haul all the various components are being inspected to see if they need work, bearing etc. The manual calls for a special tool (see Special CMP Tools) but a very versatile replacement is an engine work stand these are cheep at almost any auto parts store. Just don't bolt to much weight to them.