 Battery
Box and Tray February 2, 2002 moved and expanded information on the battery
box and tray including more drawings with dimensions. May take a bit to load.
Battery
Box and Tray February 2, 2002 moved and expanded information on the battery
box and tray including more drawings with dimensions. May take a bit to load.
In Response To Questions
This page was last updated 16 November 2012 to provide more information on the HUP Rear Hatch
Information about the canvas flap between the side curtain and the window post of the Pattern 13 Cab
Pictures of the interior of various CMP HUPs
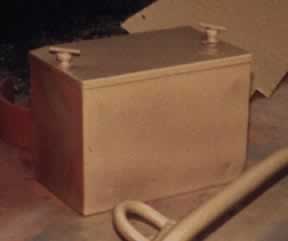
Battery
Box and Tray February 2, 2002 moved and expanded information on the battery
box and tray including more drawings with dimensions. May take a bit to load.
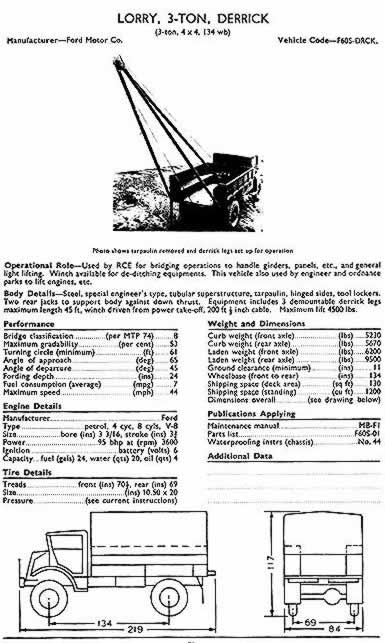
 One of the CMP owners
in Maine has been looking for photos of Ford F60S and other data so these next
photos are for him. Starting with an example of one of the Ex-Swiss
F60S click text to see that were imported through I believe SE Equipment in the 60s I understand
that all of these were the Ford derrick with A frame lift on the rear and a
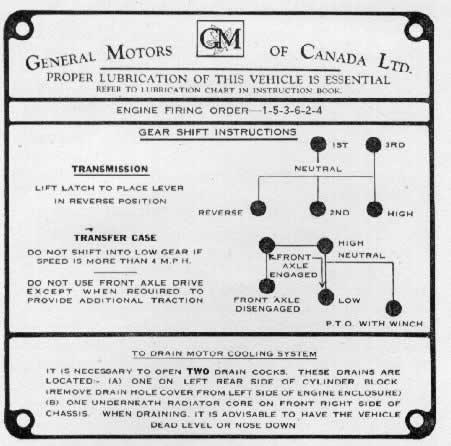
center mounted winch. The data plates on the Ex-Swiss CMPs are interesting as
they are in German click photo to see. A good source of information off course is Bill
Gregg's books.
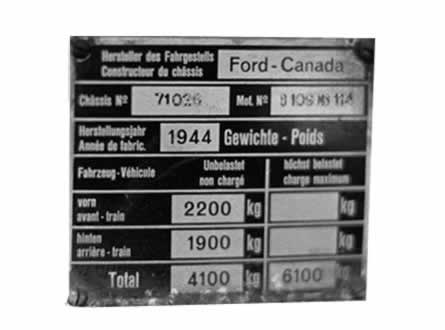
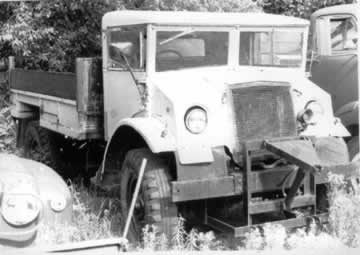
One of the CMP owners
in Maine has been looking for photos of Ford F60S and other data so these next
photos are for him. Starting with an example of one of the Ex-Swiss
F60S click text to see that were imported through I believe SE Equipment in the 60s I understand
that all of these were the Ford derrick with A frame lift on the rear and a
center mounted winch. The data plates on the Ex-Swiss CMPs are interesting as
they are in German click photo to see. A good source of information off course is Bill
Gregg's books.
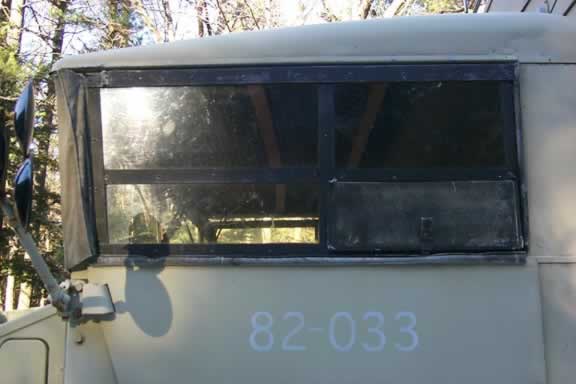
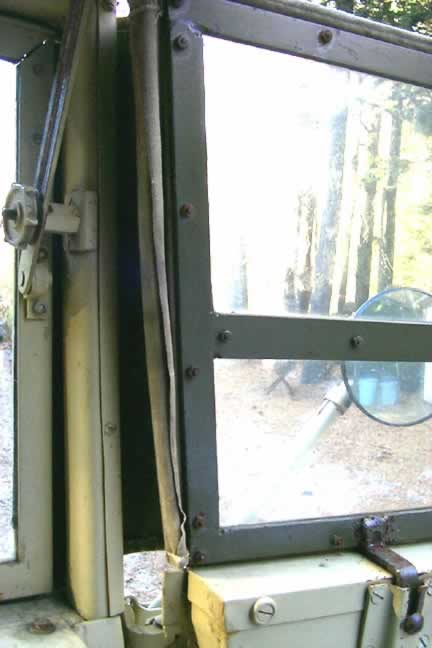
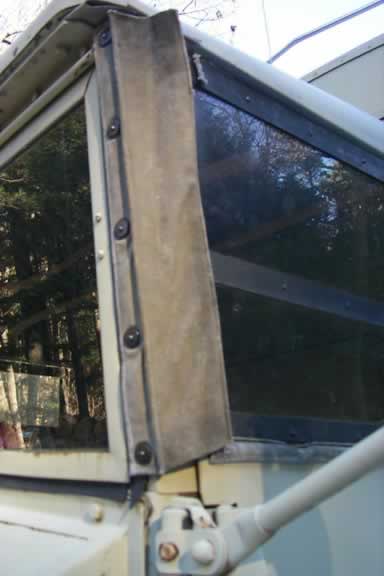
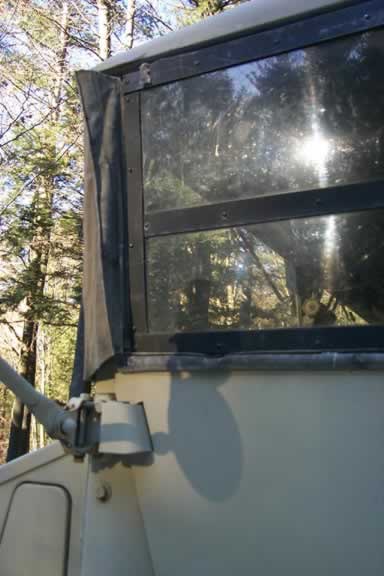
Several questions have been asked about the side windows on CMPs so here are a number of pictures click text to see 1 Full window side on 2 inside of window canvas close up 3 window close-up 4 window canvas hinge side on
Duncan MacIntosh - Is working on a model of HUP or HUW as used by the CBC as a mobile recording unit. The following are pictures of the interior of my HUP
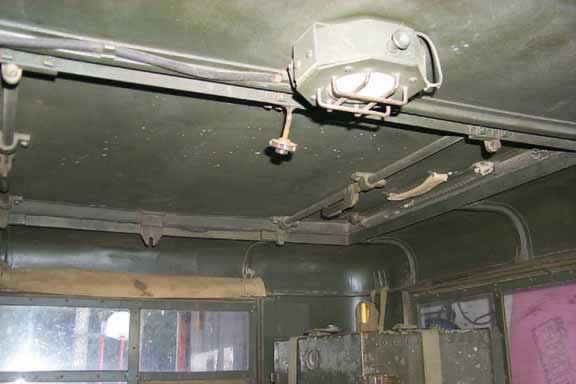
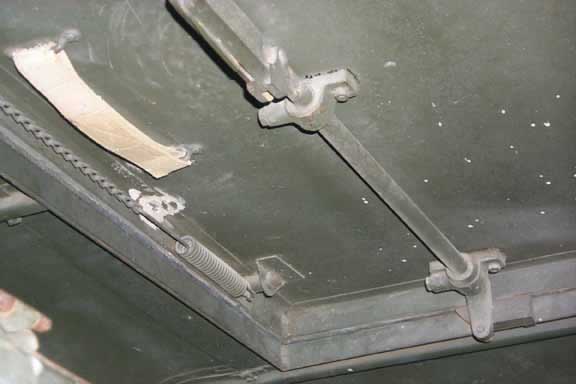
1. Interior roof rear This is looking toward the left rear corner of the HUP and shows the detail of the hatch hardware. The mounted field desks are not original though they are WWII vintage. I added them for needed storage space.
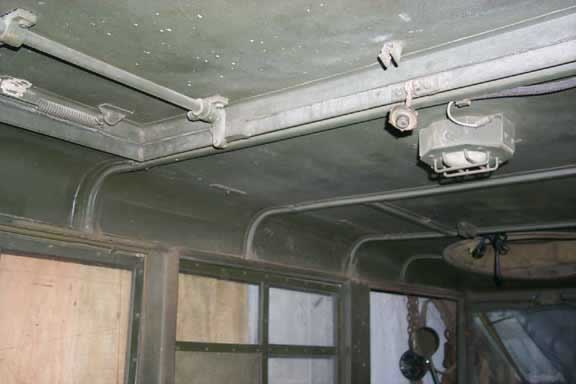
2. HUP Interior light This is looking forward toward the front observers hatch. Note the padding on the ring. The earlier version was a square metal hatch with less padding. I believe that all of the CBC HUPs had the square hatch.
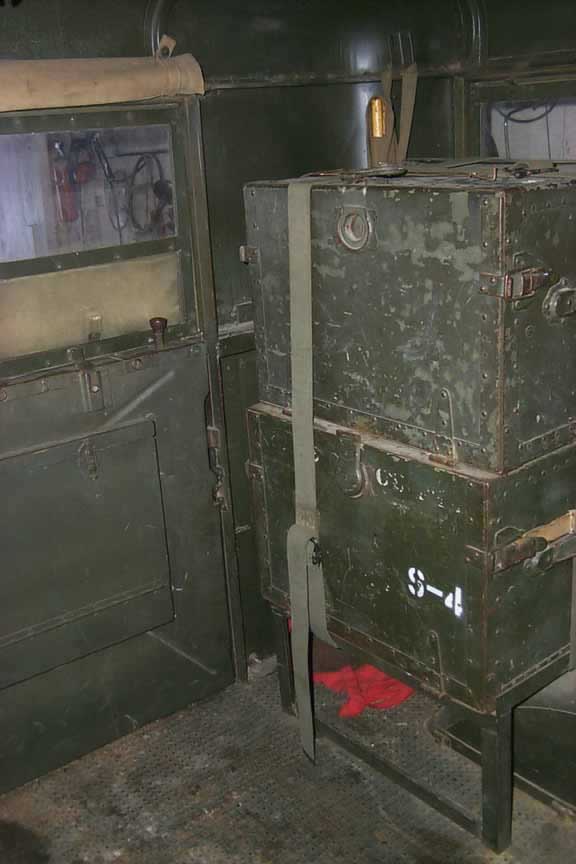
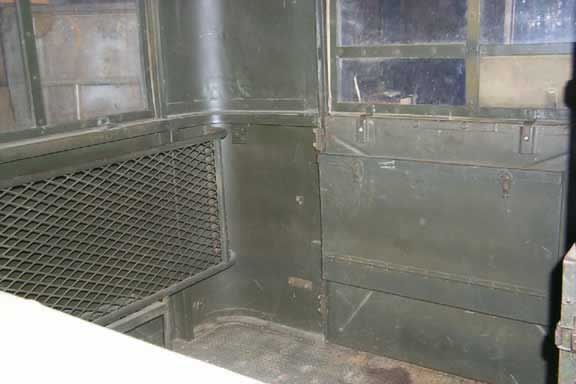
3. HUP inside left rear The detail of the equipment bin can be seen there were originally one over each rear wheel. Mine however was missing one when I got it.
4. Inside right rear with hatch The map case can be seen in both of these pictures on the rear door. Note the rolled up canvas above the door this along with side curtains could be used to blackout the vehicle.
5. HUP right rear wide shot inside
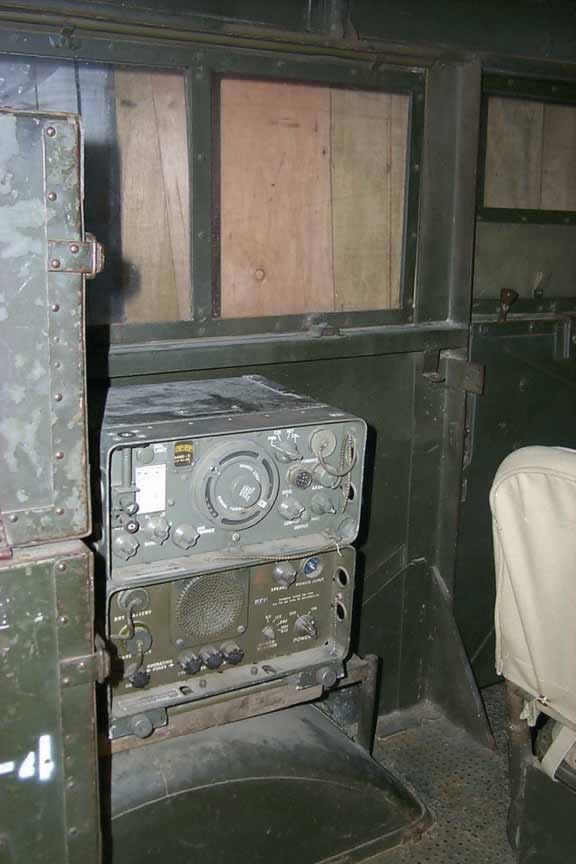
6. HUP Radio The radio is not correct but people get a kick out of hearing the BBC short wave broadcasts
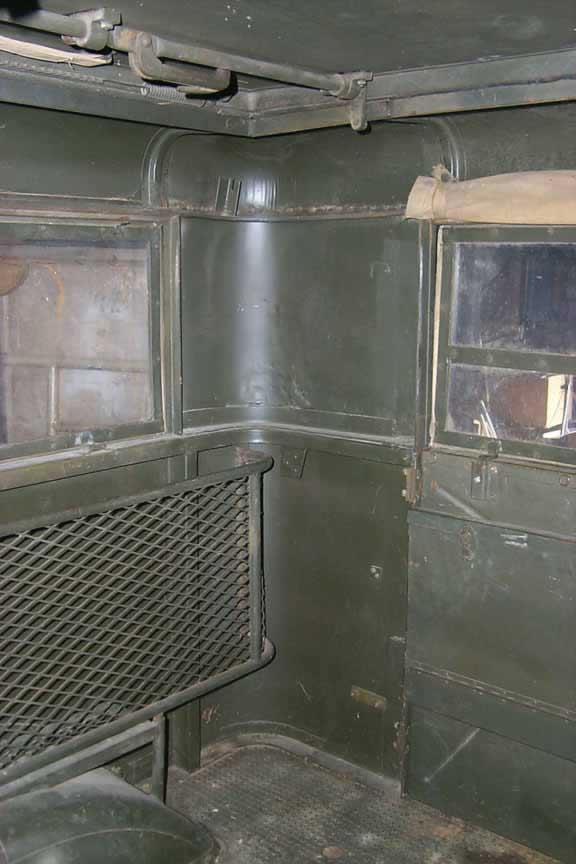
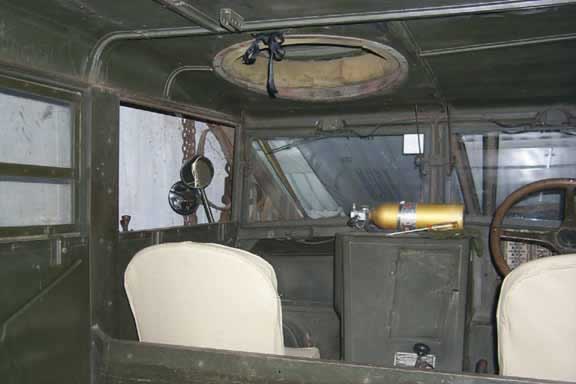
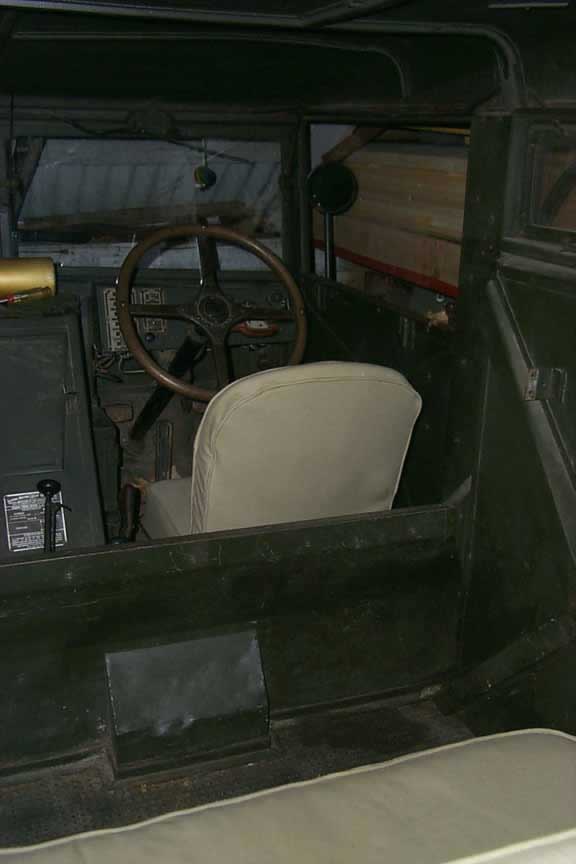
7. HUP Inside left front Look forward toward the divider between the drivers compartment and the cabin. You can just see the snaps for a canvas divider that would have separated the two areas again most likely to black out the truck so that work could be carried out in the back while it was moving at night or parked. In the HUW this panel was extended to the roof with a solid partition I believe of steel.
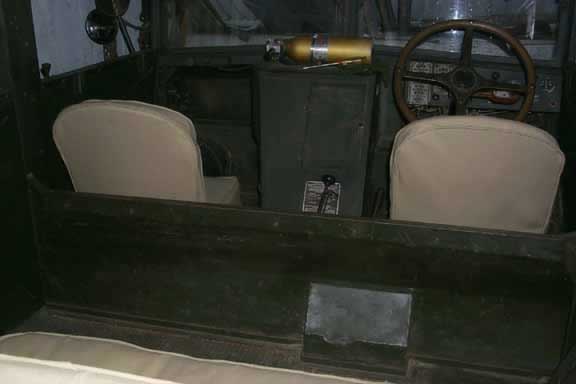
9. HUP inside driver side My HUP being a later truck had the mount for the spare tire on the drivers side instead of another door. I believe that all of the CBC trucks had both side doors.
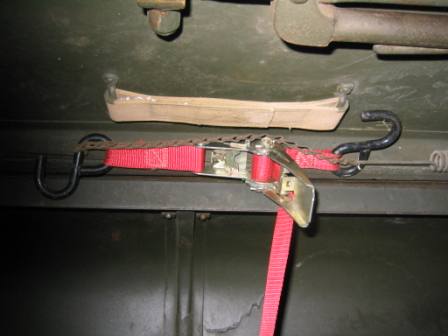
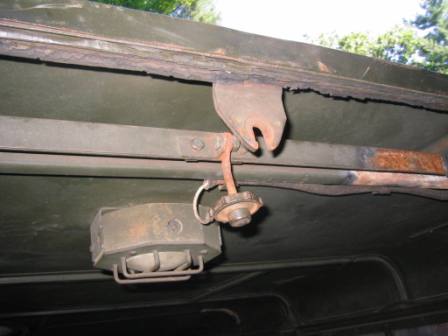
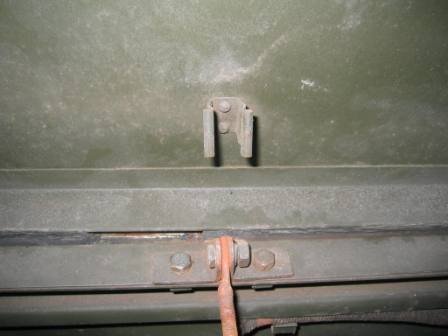
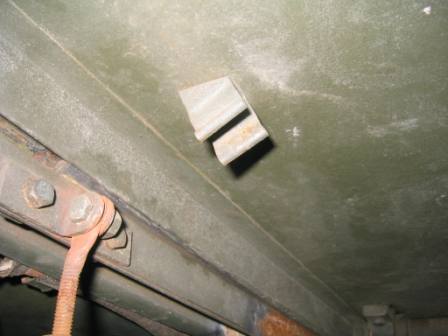
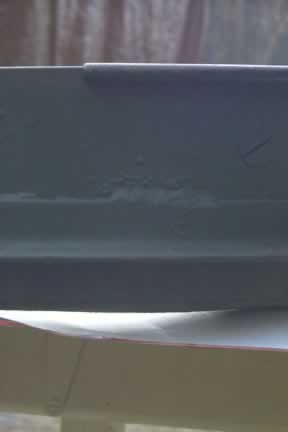
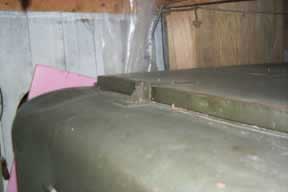
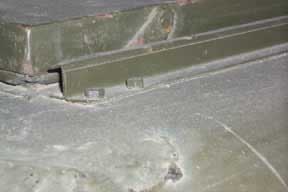
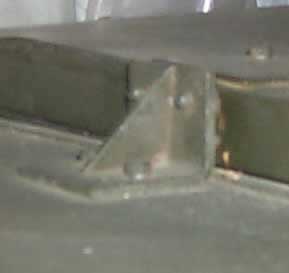
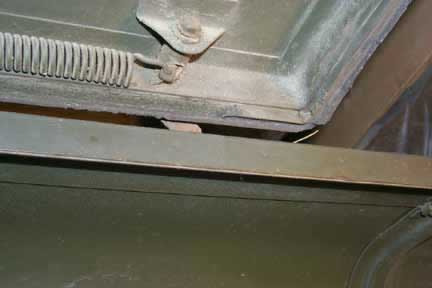
11. Left rear corner of the hatch and stop block
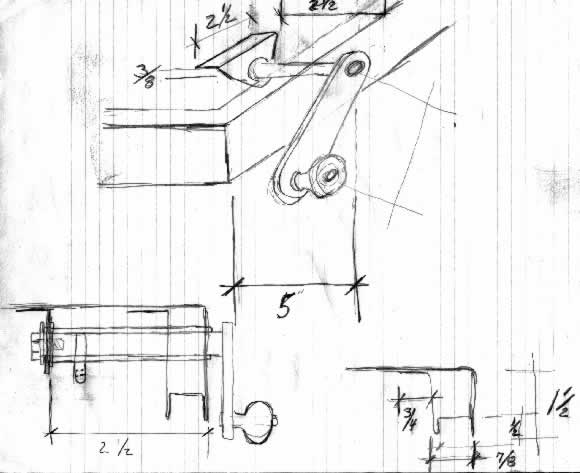
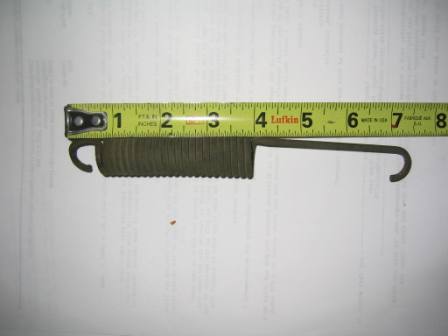
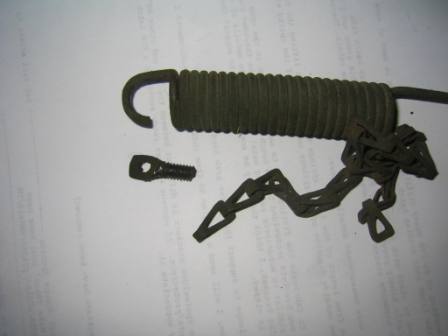
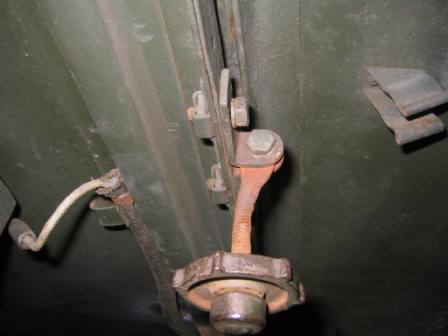
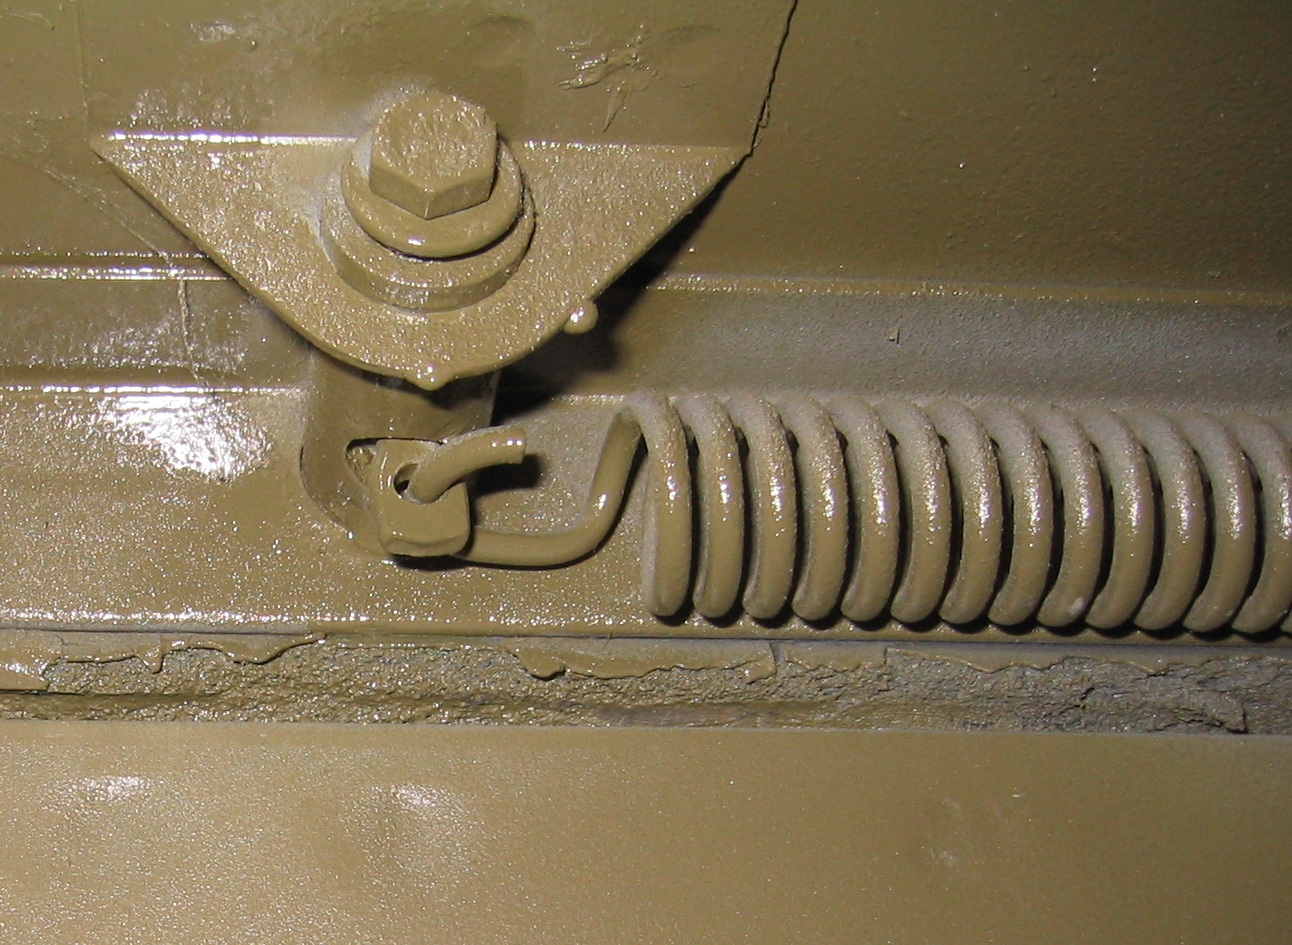
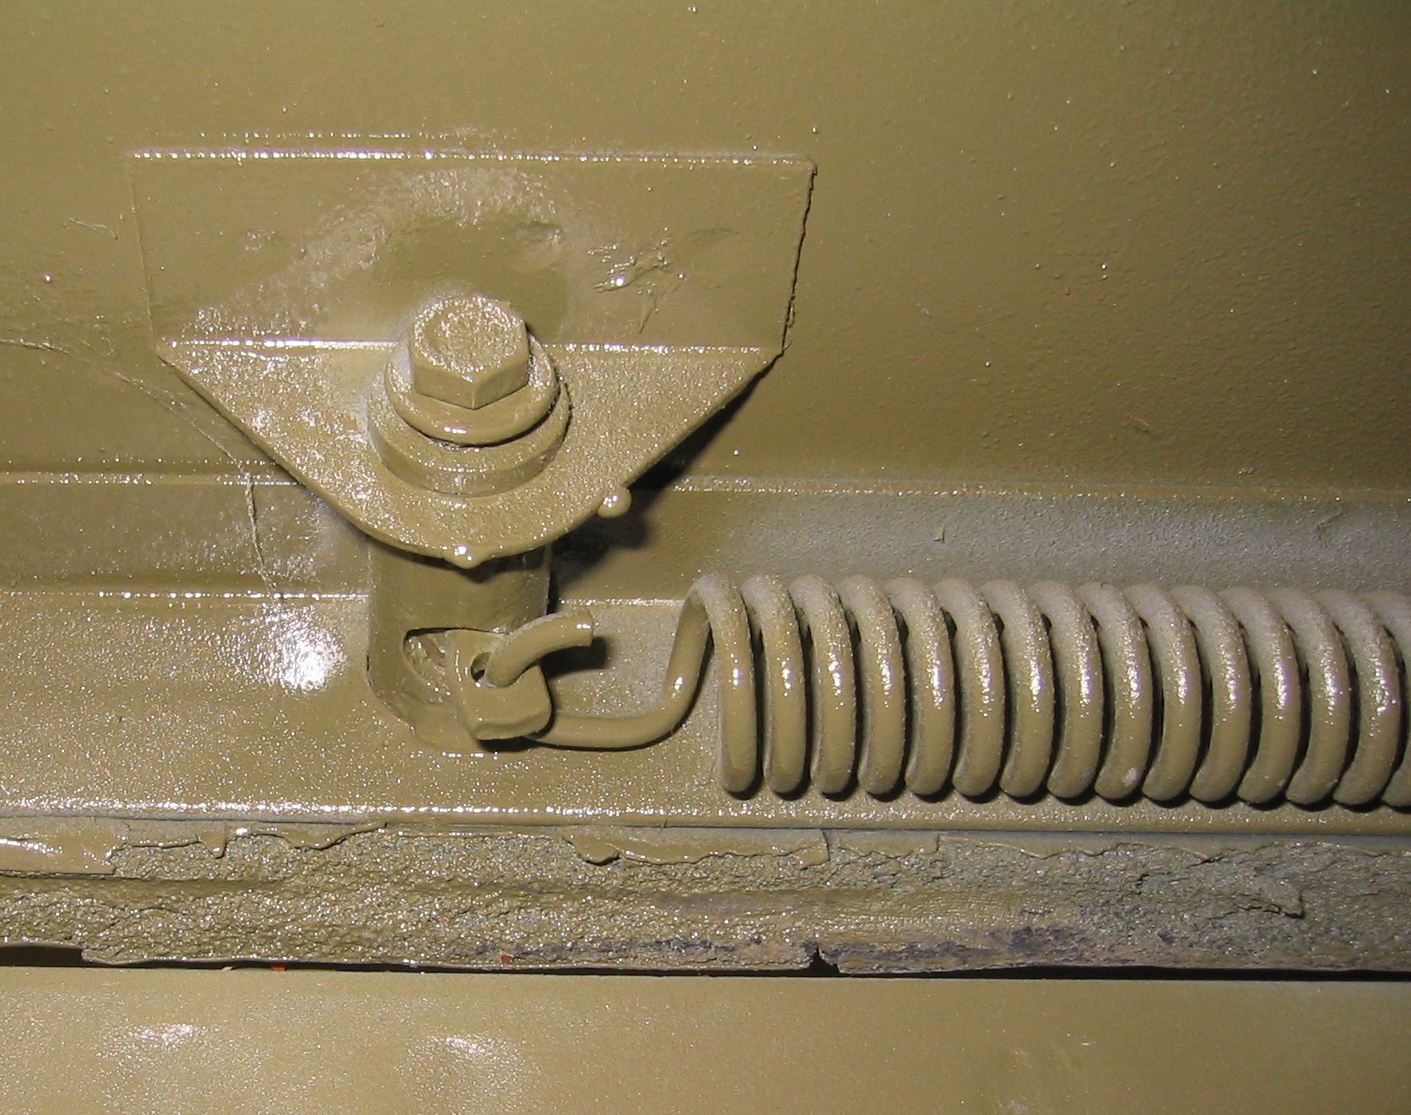
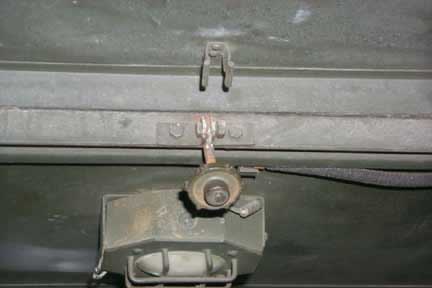
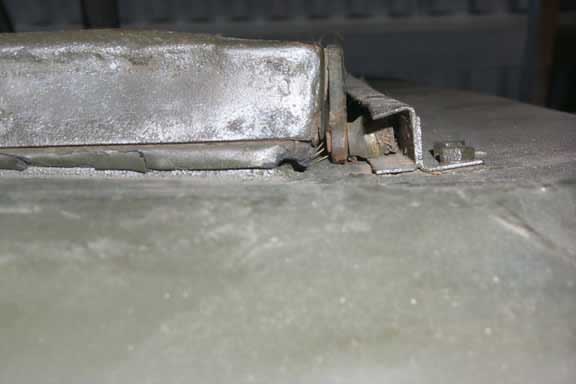
12. Hatch hardware LARGE Note the spring attached to a short arm through the pin of the outside lever arm this helps lift the hatch clear of the roof to slide forward.
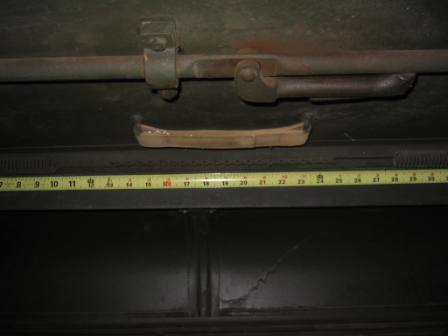
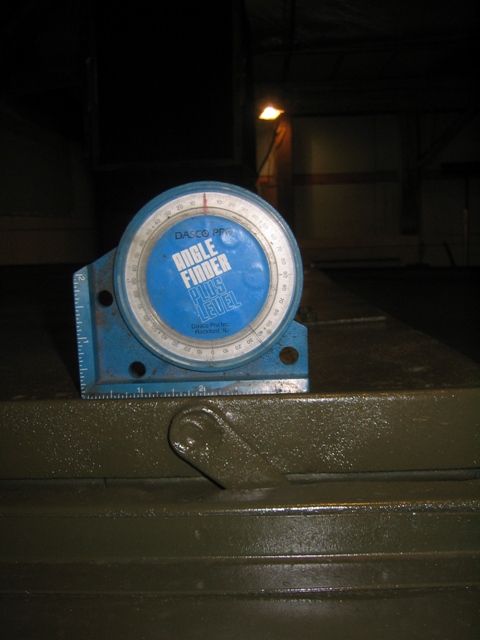
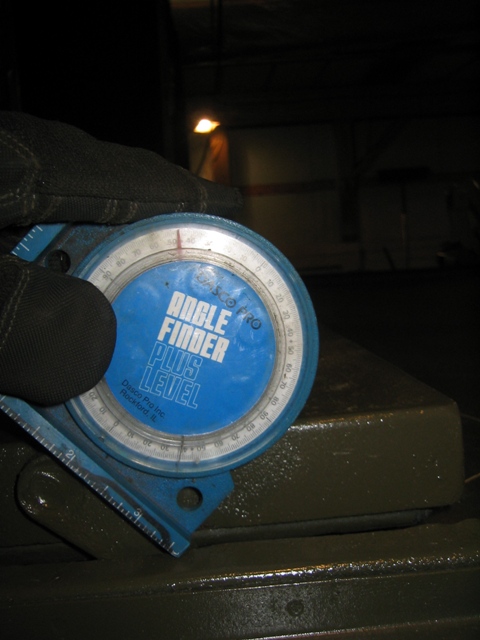
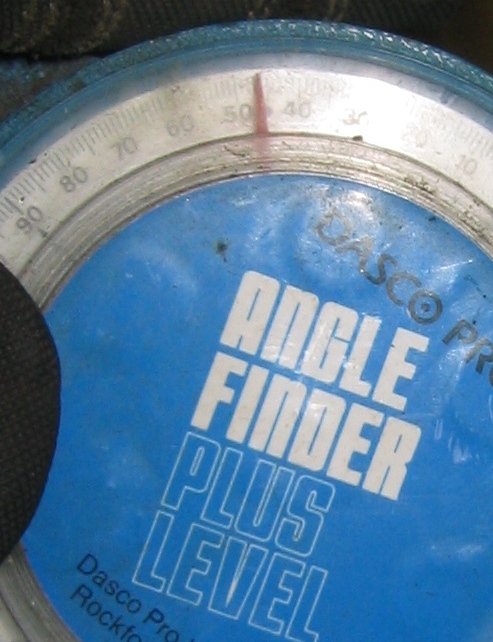
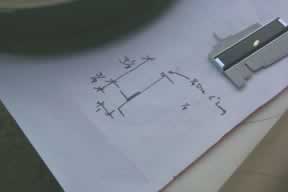
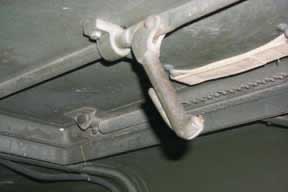
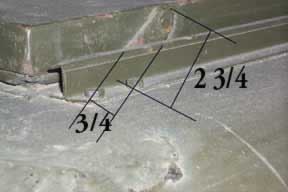
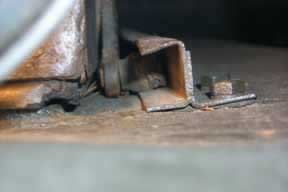
14. Hatch roller arm dimension
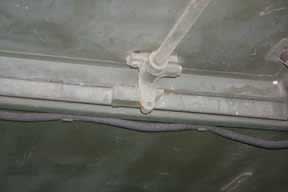
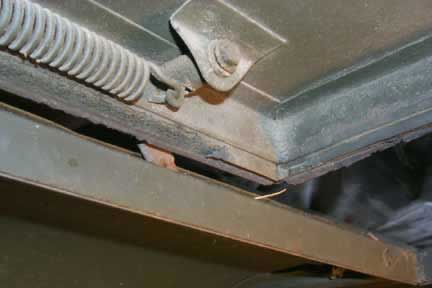
18. Hatch roller ball 2 Thought is hard to see in this picture the ball has a number of flat spots showing that at different times it has not turned on the pin from the lever arm.
You will also see in all of the pictures the result of years of hard use on the roof with many dents. But being original I hate to replace the roof as this would be the only practical way of taking care of all the dents and bowing.

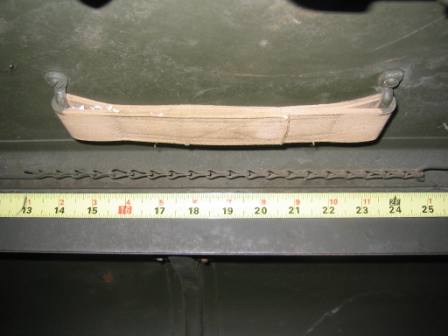
Pattern 13 Front Hatch/Hip Ring Details
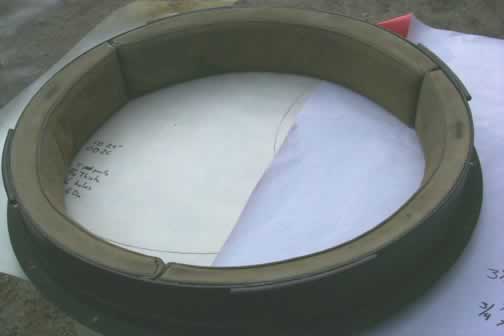
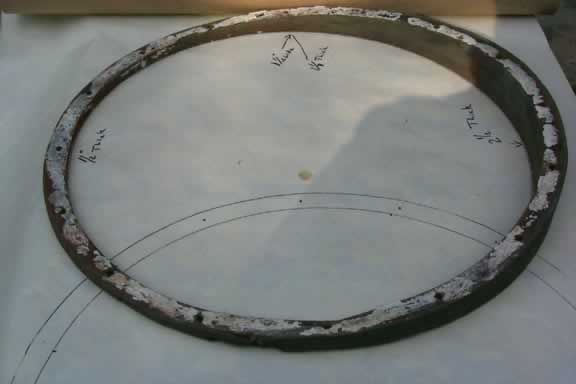
Wooden spacer looks to be heat bent oak it is 1-1/16th" in width. At the (looking at picture) 12 & 6 o:clock position it is 1-1/8th" thick, at 3 o:clock it is 2-1/2" thick and at 9 o:clock it is 1/2"thick

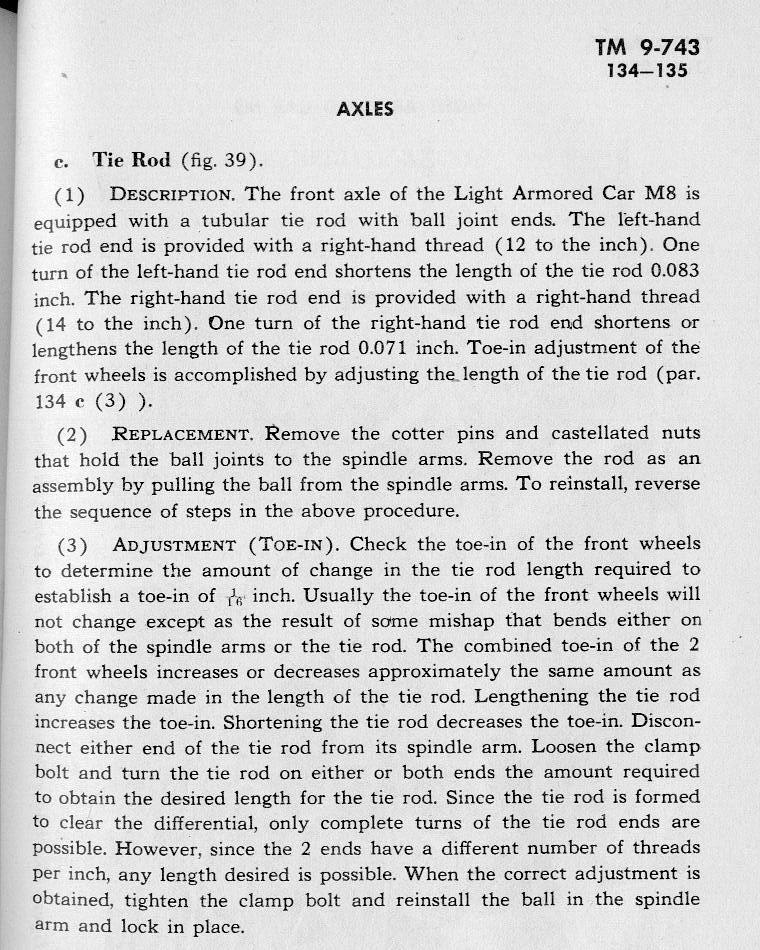
Bob Carriere - Tie rod question different thread on left and right sides